192.168.0.1 tenda login: Are you tired of sharing your Wi-Fi password with everyone who comes over? Well, worry no more! Changing your Tenda router password is as easy as making a cup of chai. In this guide, we’ll walk you through the simple steps to change your Tenda router password using the IP address 192.168.0.1.
Firstly, let’s understand why changing your router password is important. Just like you lock the door of your home to keep unwanted guests out, changing your router password helps to secure your internet connection from unauthorized access. Now, let’s dive into the steps:
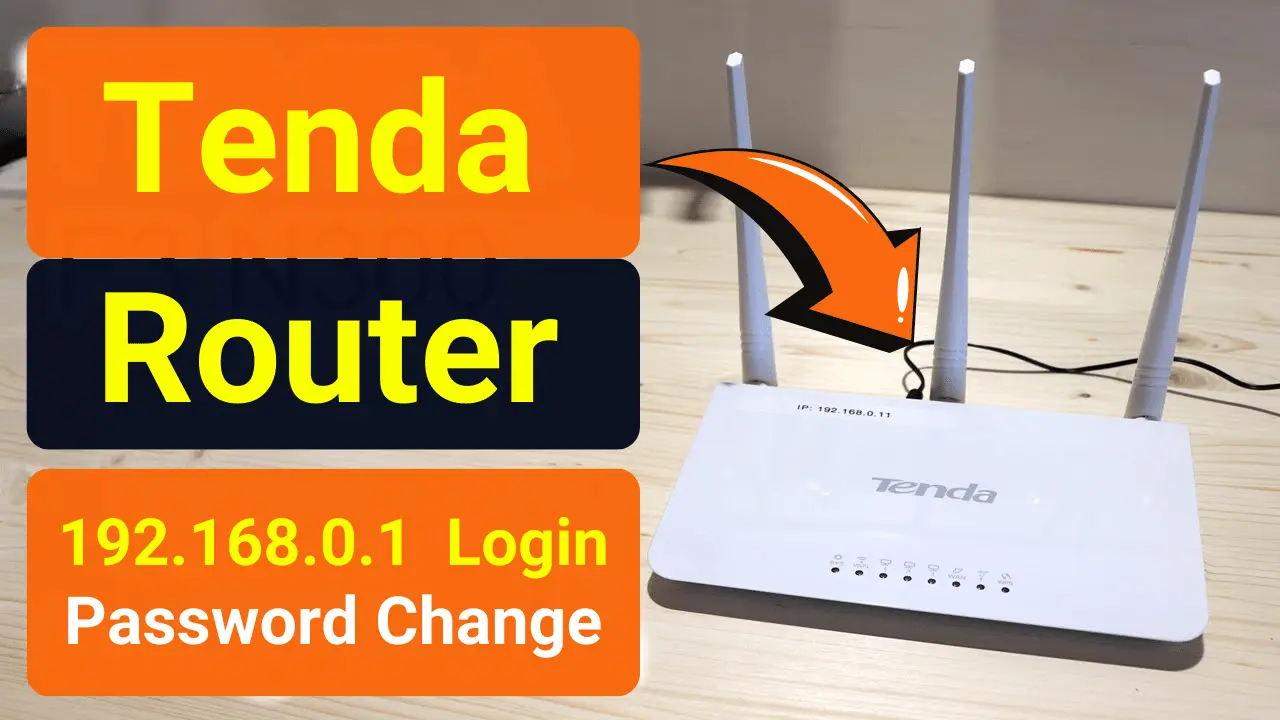
192.168.0.1 tenda login / Password Change
Step 1: Connect to Your Router
To begin, make sure your device is connected to your Tenda router either via Wi-Fi or using an Ethernet cable. Open your favorite web browser, whether it’s Google Chrome, Mozilla Firefox, or even good ol’ Internet Explorer, and type “192.168.0.1” into the address bar. Hit Enter, and you’ll be directed to the Tenda router login page.
Step 2: Log In to Your Router
On the login page, you’ll need to enter your username and password. If you haven’t changed these before, the default username and password are usually “admin” for both. Once you’ve entered the credentials, click on the “Login” button.
Step 3: Go to the Settings
After logging in successfully, you’ll find yourself in the Tenda router settings dashboard. Look for the “Settings” or “Advanced Settings” option. It might be located under different tabs depending on your router model, but don’t worry, it’s there somewhere!
Step 4: Locate the Wireless Settings
Now, you need to find the section related to wireless settings. This is where all the magic happens! Once you’ve found it, look for the option that says “Wireless Security” or something similar. Click on it, and you’ll see various security settings for your Wi-Fi network.
Step 5: Change Your Password
In the wireless security settings, you’ll find an option to change your Wi-Fi password. It might be labeled as “Password,” “Passphrase,” or “Pre-shared Key.” Click on it, and you’ll be prompted to enter your new password.
Step 6: Create a Strong Password
When creating your new password, make sure it’s strong and secure. Use a combination of uppercase and lowercase letters, numbers, and special characters. Avoid using easily guessable passwords like “123456” or “password.” Instead, opt for something unique and memorable, like your favorite Bollywood dialogue or your pet’s name followed by your birth year.
Step 7: Save Your Changes
Once you’ve entered your new password, don’t forget to save your changes! Look for the “Save” or “Apply” button at the bottom of the page, and click on it. Your router will now apply the new settings, and your Wi-Fi password will be updated.
Step 8: Reconnect to Your Wi-Fi
Now that you’ve changed your Wi-Fi password, you’ll need to reconnect all your devices using the new password. Don’t worry, it’s just like reconnecting to your Wi-Fi for the first time. Simply search for your Wi-Fi network, enter the new password, and voila! You’re back online.
Congratulations! You’ve successfully changed your Tenda router password using the IP address 192.168.0.1. Now you can enjoy a more secure internet connection without worrying about unauthorized access. Remember to keep your password safe and avoid sharing it with strangers.
In conclusion, changing your Tenda router password is a simple yet essential step to ensure the security of your Wi-Fi network. By following the easy steps outlined in this guide, you can protect your internet connection from unwanted intruders and enjoy peace of mind knowing that your data is safe and secure. So go ahead, take control of your Wi-Fi security today!
Tenda wifi password change mobile
- Step 1: Connect to Your Tenda Router
- First things first, make sure you’re connected to your Tenda router either through WiFi or using a cable. Open up your favorite web browser, whether it’s Chrome, Firefox, or Safari – anything will do!
- Step 2: Access the Router Settings
- Now, type “192.168.0.1” into the address bar and hit Enter. This will take you to the login page of your Tenda router. If you’ve never changed the login credentials before, the default username and password are usually “admin” for both. Once you’re in, you’ll see the router settings dashboard.
- Step 3: Find the Wireless Settings
- Next, look for the wireless settings section. It might be under “Settings,” “Advanced Settings,” or “Wireless Setup” – don’t worry, you’ll find it. Click on it to reveal all the WiFi-related options.
- Step 4: Locate the WiFi Password
- In the wireless settings, you’ll see an option to change your WiFi password. It could be labeled as “Password,” “Security Key,” or “Wireless Password.” Click on it, and you’ll be prompted to enter your current password.
- Step 5: Set a New Password
- Now, it’s time to get creative! Enter your new WiFi password in the provided field. Make sure it’s something memorable but tough for others to guess. Mix it up with a combination of letters, numbers, and special characters to make it strong and secure.
- Step 6: Save Your Changes
- Once you’ve set your new WiFi password, don’t forget to save your changes! Look for the “Save” or “Apply” button at the bottom of the page and click on it. Your router will now update the settings, and your new WiFi password will be in effect.
- Step 7: Reconnect Your Devices
- Last but not least, reconnect all your devices to the WiFi using the new password. This includes your smartphones, laptops, tablets, and even your smart TV. Simply search for your WiFi network, enter the new password, and you’re good to go!